Thanks to Erin at The Sugar Cube for this super cute and easy to do post! ~Megan
-------------------------
Before I start this post, I'd like to thank Megan for giving me the opportunity to guest blog for her. I racked my brain trying to think of a suitable topic to blog about here, and hopefully at least one of you will be able to take something from this simple tutorial that I made. If nothing else, I at least hope that I could do this blog justice!

That said, on with the tutorial!
I've seen a lot of girls wondering how to do half moon manis, and the technique is surprisingly simple. If you're at all familiar with using tape to create nail art designs, you'll be able to churn this look out with no problem at all.

- Nail polish in 2 different contrasting colors. Ideally one would be much lighter than the other.
- Reinforcement labels. If you have no idea what those are, you're not alone. They're the little round stickers with a hole in the center that are used to patch loose notebook paper when the holes rip. I bought mine at CVS in the aisle where they sell pens for roughly $2.00.
- Top coat.
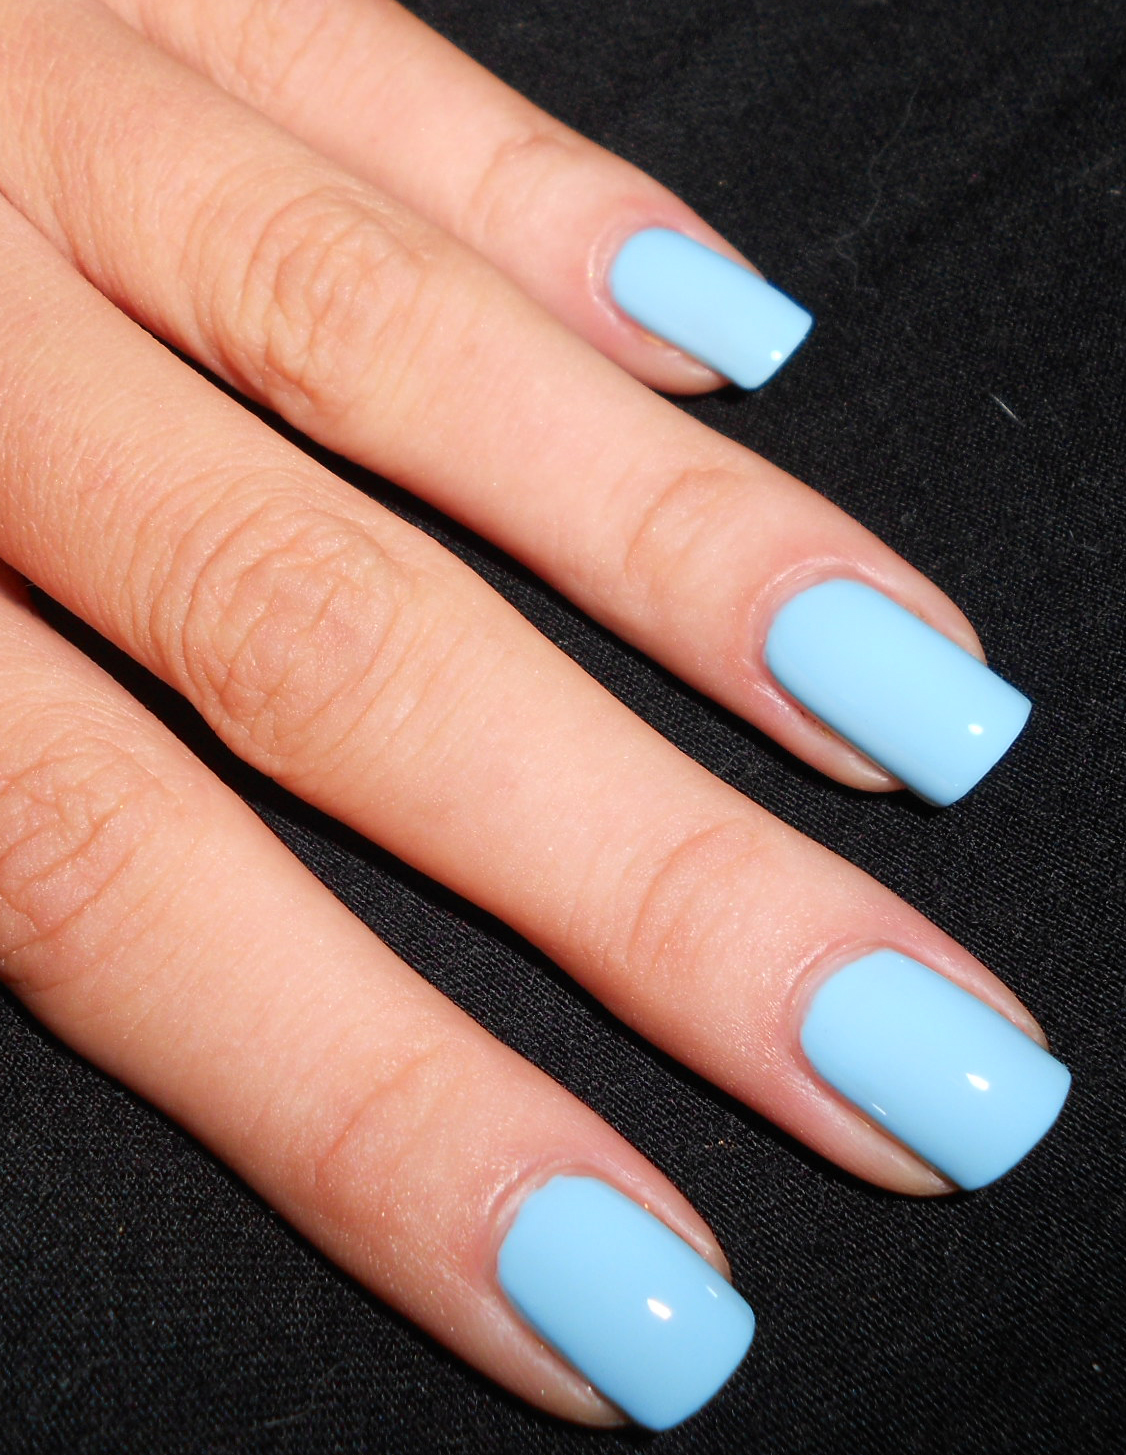
Step 1: Paint your nails with your base color. It's obviously a good idea to use the lighter color as the base, since you'll need the other color to cover a good portion of the nail. I used OPI What's With The Cattitude. Let your base color completely dry. I usually wait about 45 minutes before moving onto step 2.


Step 1: Paint your nails with your base color. It's obviously a good idea to use the lighter color as the base, since you'll need the other color to cover a good portion of the nail. I used OPI What's With The Cattitude. Let your base color completely dry. I usually wait about 45 minutes before moving onto step 2.
Step 2: Whip out your reinforcement labels. In case you're still confused about what these are, here is a picture of what mine look like.

Step 3: Apply one of your reinforcement labels to one of your nails, right where your cuticles are. The majority of the label should be above your nail, and only a small half moon shape should be on the nail itself. Once you have the label in place, press on it until it's completely stuck to all contours.

Step 4: Paint the entire nail with your darker colored nail polish. I did not include a picture of this step because it's very important that you remove the label when the polish is still wet and I didn't want to run the risk of it drying while I snapped photos :P
Step 5: While your darker colored polish is still wet, carefully remove the reinforcement label. Apply top coat once it's dry.

Step 6: Repeat steps 1-5 on each nail and then marvel at your half moon mani!