
 I used Ulta In the Mood to do a newspaper mani. Cool huh? The words sort of get reprinted on your nail. Some people like to actually put the paper bits on their nails like a decoupage, but I prefer this technique. I think it looks so much better. I'd love to do a tutorial, maybe even a video, if you're interested :D.
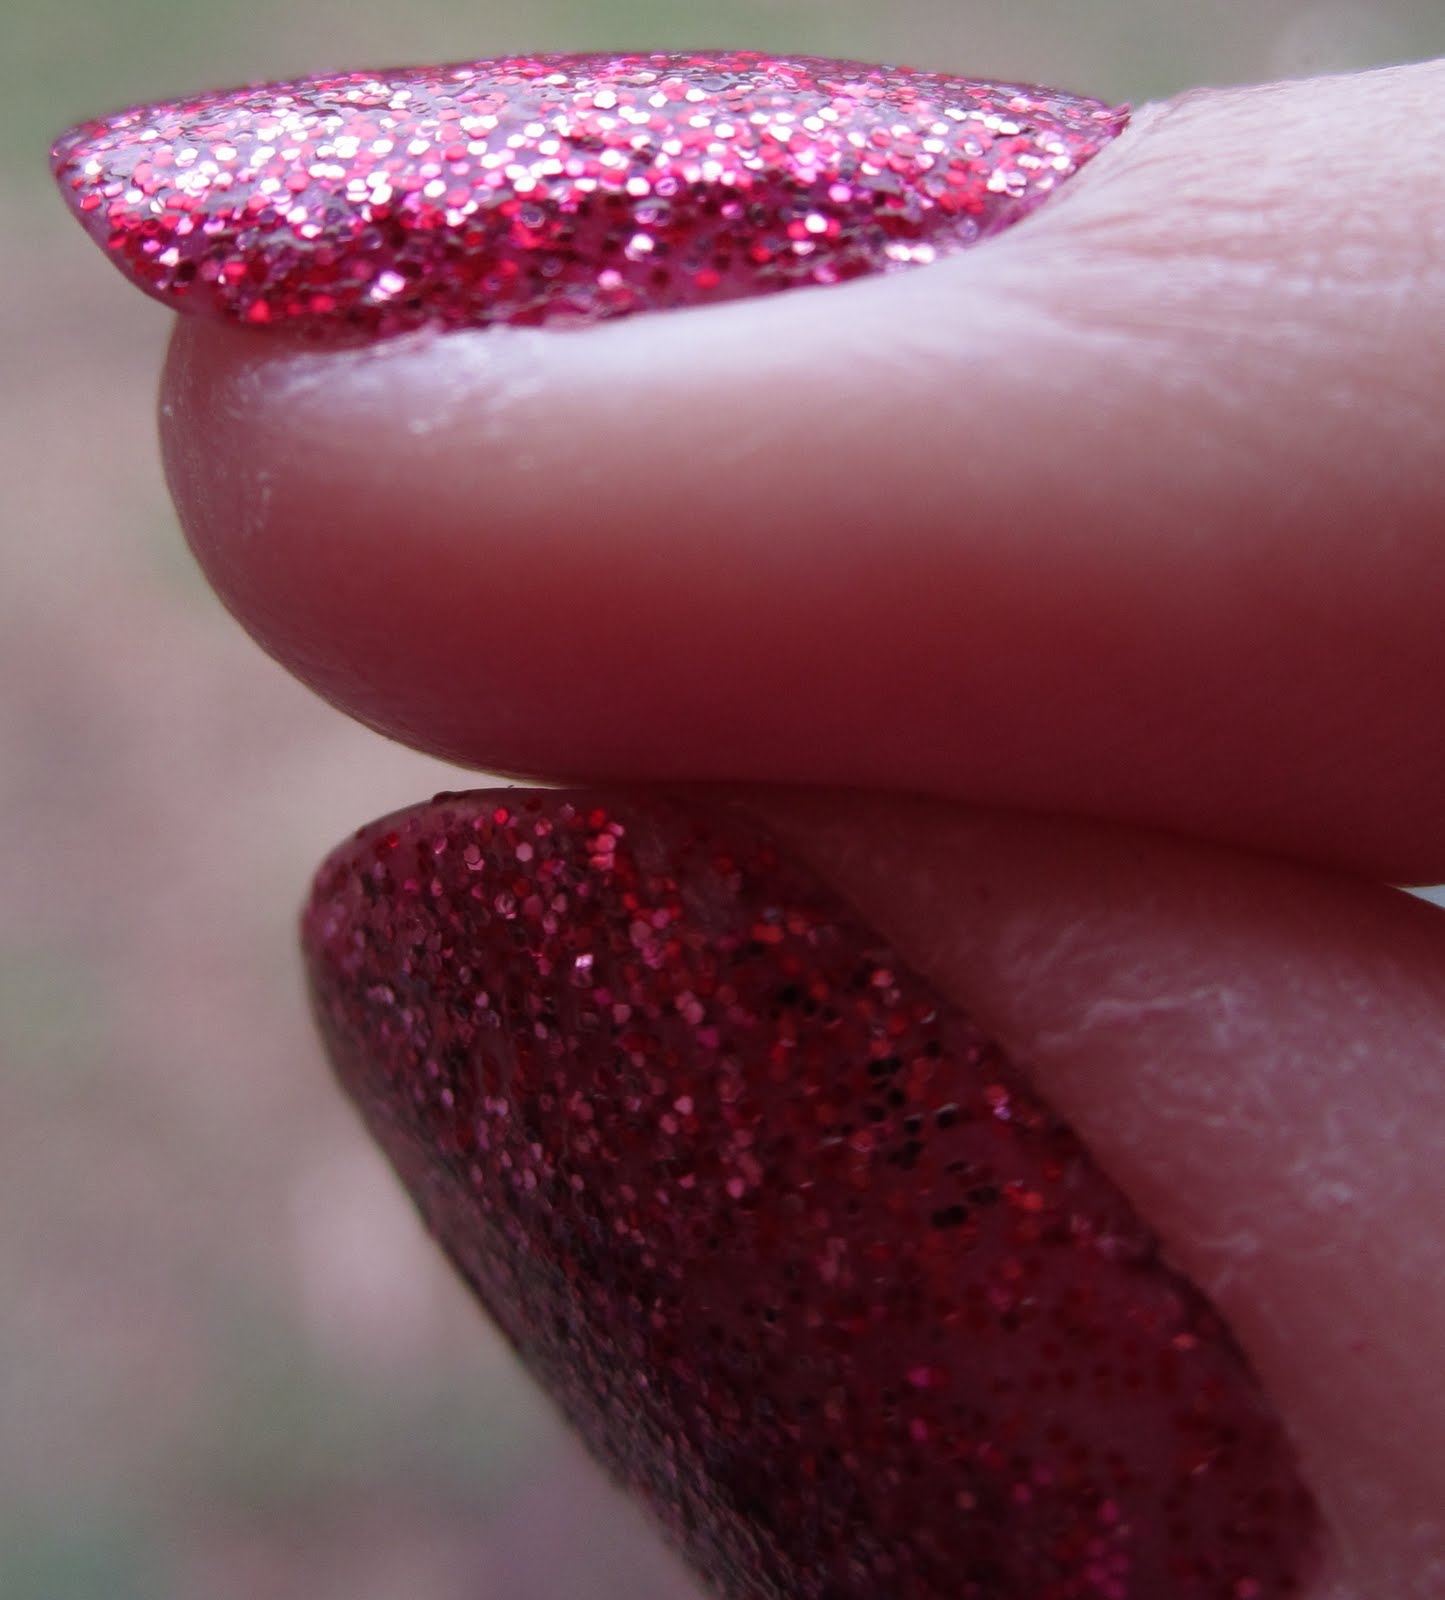
This is the first nail I did and I think it looks so awesome! I'm really in love with this mani. On the right is another pic of the mani I took today (I actually painted them last night. I like to take pictures right after I do them usually. just in case I mess them up lol.
 I really like how it looked before the clean up too (below). You can see the ghost of the words on my skin and I thought it was neat.
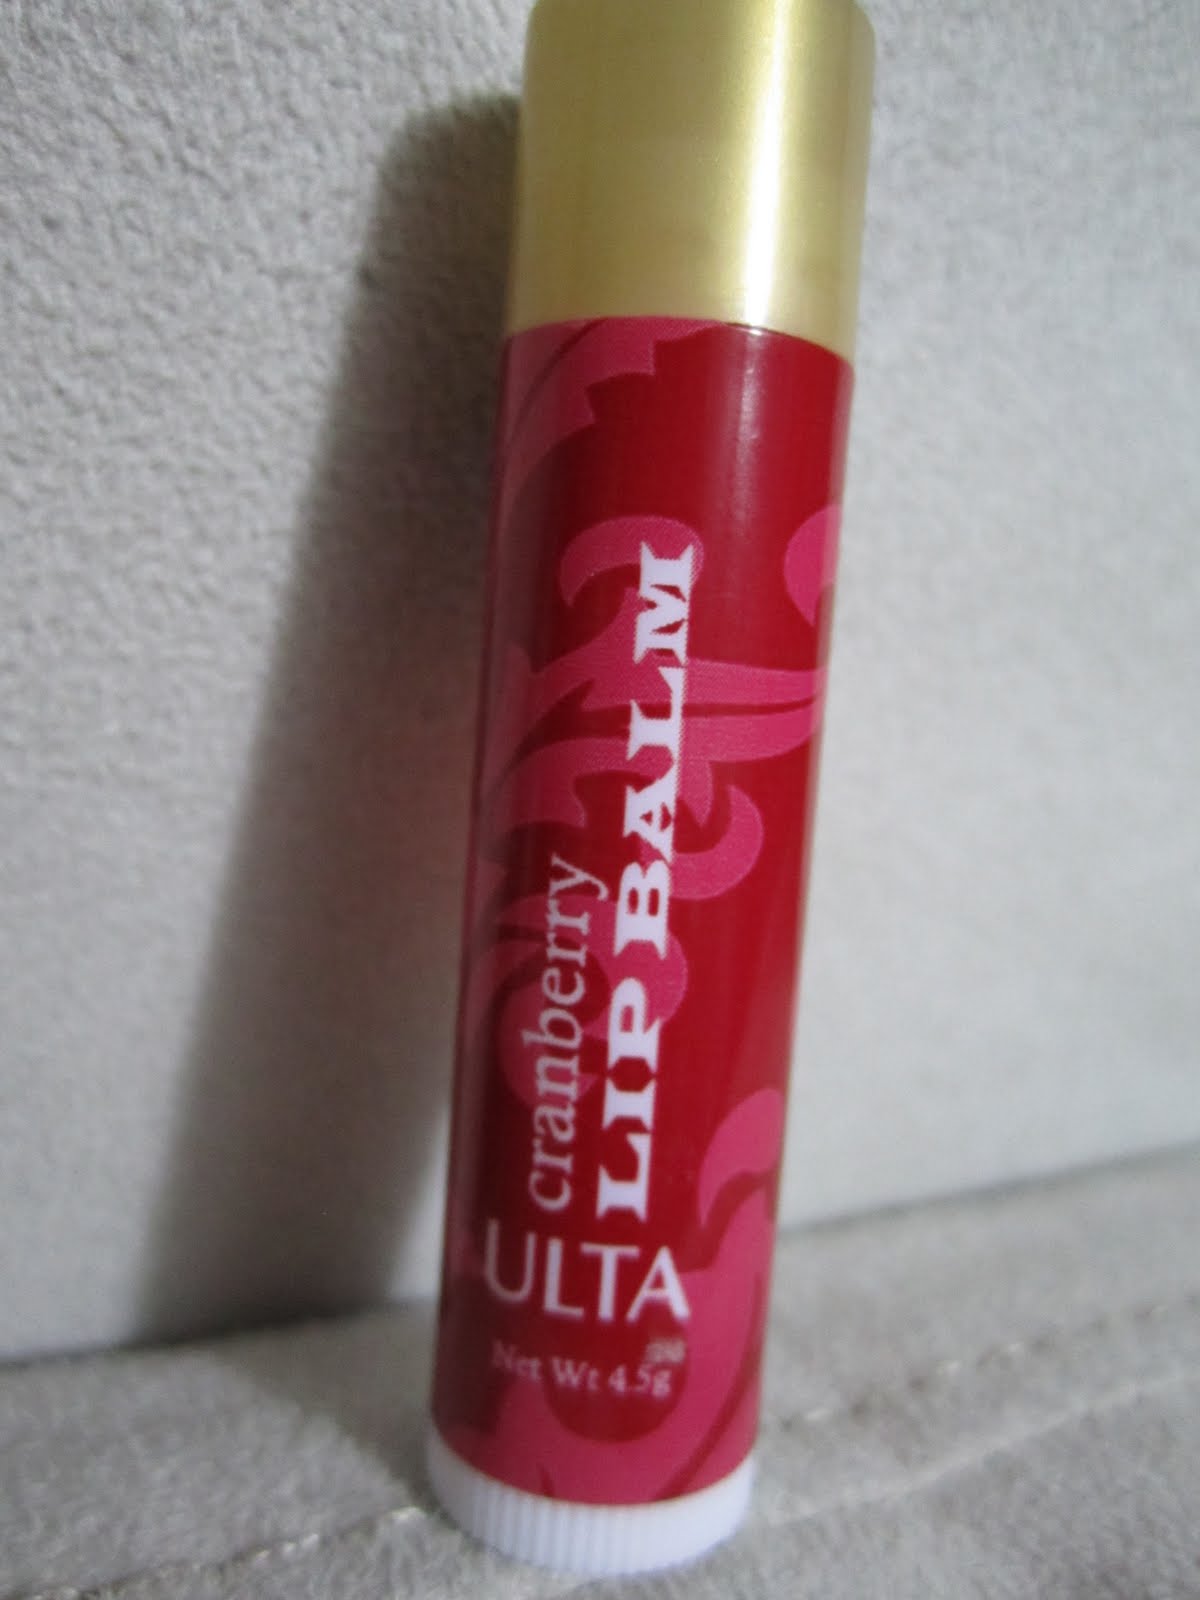
 Now about this specific polish...If you read my previous post about my Ulta Haul I picked this up on clearance at Ulta.
 I think it's a pretty cool color myself. It's a light purple, not quite lavender, with quite a bit of light gray in it. It gets a good bit more purple in dimmer lights, which makes a fabulous and what I consider unique color. It's really quite pigmented and not a boring color at all. I took the above picture before the cleanup just in case it messed up. And guess what...it did. I have to say this formula was awful and I'm super close to never trying it again. I actually did it once before, and it was so bad I took it off. The application was so amazingly streaky that I felt like I had to do thick coats to make it look good. Well bad idea, because that promotes bubbles.
 You can't see half the bubbles in these pictures. It looked so freaking awful...I painted my nails at night, but not that late. I got carefully into bed after they had already been drying like an hour and figured it would be fine. When I woke up in the morning not only were my nails ruined even more, but they were still wet!! Like wet enough to leave fabric marks, wrinkle it, anything. GOD!
So...I did it again this time, with nice...pretty...thin coats. It looked much better and didn't bubble, but was still super streaky and took 3 coats. It could have used 4. Now even though I was super careful, I still had trouble with the polish this time. It didn't bubble, but stayed dry to the touch (not all the way dry) for the longest time. Even after the topcoat was applied, I usually use Sally Hansen Hard as Nails Xtreme Wear, same story. Now is this the topcoat's fault or the polish? I have used this top coat many times and rarely had this problem. I put a coat of Seche Vite QD Topcoat on before bed to make it dry and that worked wonders. Right now the mani is perfect, even a little wrinkle or two I caused with silly mistakes. That's probably the best thing about SV, it's magical imperfection perfecting skills.


